
My Most Asked Organizing Questions…Answered
May 2, 2016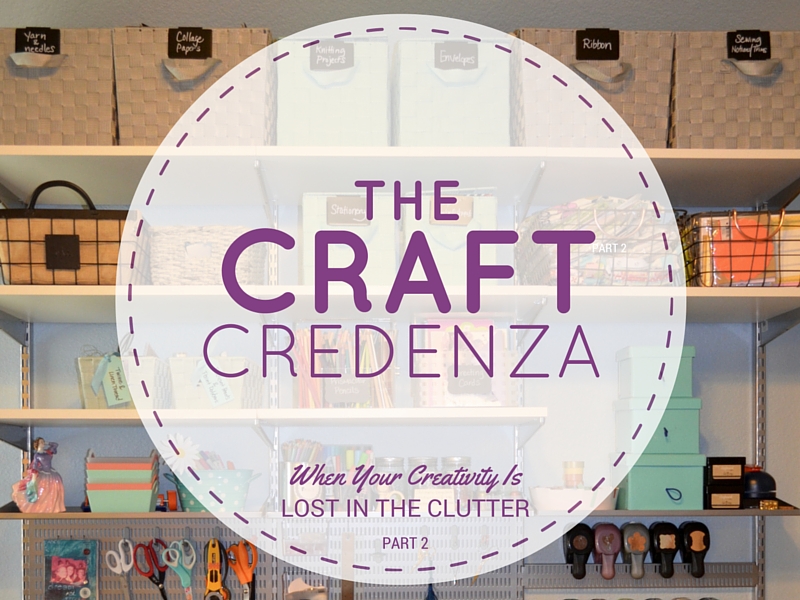
Organizing Your Creative Space: View Your Storage Area as “Prime Real Estate”
June 23, 2016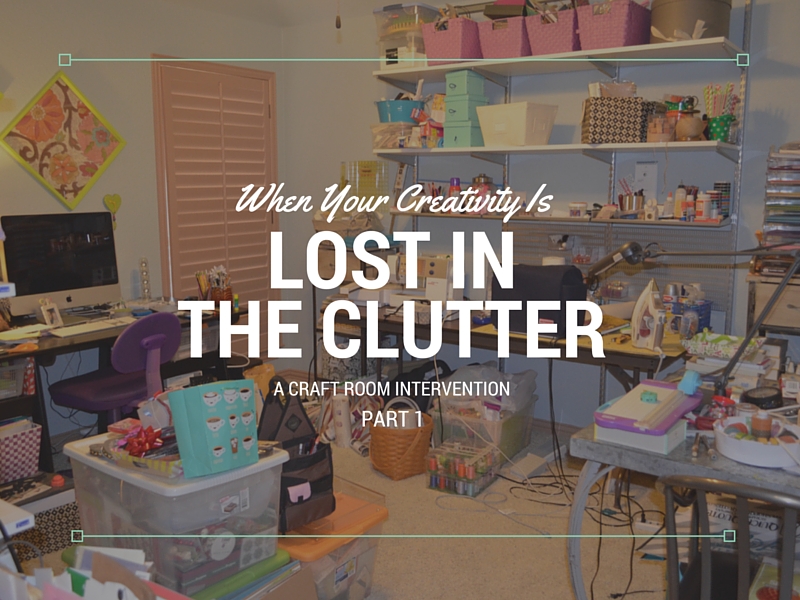
A Craft Room Intervention
After working for Styled & Organized for several months I was feeling like I needed to “come clean” about the most embarrassing part of my home. After all, if I’m going to be a true asset to Leticia Pfeiffer’s professional organizing business I better start applying her strategies to all areas of my life! I had already tackled some small parts of my home (catchall drawer, cosmetics drawer, pantry, etc…) These initial projects only took an hour or two of my time, but the end results were life changing. Knowing what a huge impact organization can have on my everyday life…I knew it was what I needed in my craft room. It was time to tackle organizing my creative space!
I am so blessed to even have a room to dedicate to my creative endeavors…. most people use part of their utility room, their garage or even a small closet area. However, it is possible that having an entire room to store my craft supplies allowed me to get a little careless about acquiring and organizing supplies. My craft room had gone from a place where I enjoyed spending time and making all kinds of fun things, to a place I avoided on a daily basis. Sure, I had some random “clean up” sessions that would give me a little boost…. but those were just scraping the surface of my problems. The room had become so full of clutter and supplies that it was literally cluttering my mind every time I stepped into the room. The room was so full it was stunting my creativity altogether. It was as if a dark cloud had formed over the room that used to bring me so much joy!
I knew I had to get over my embarrassment, and ask Leticia to come help me with the overall game plan to get the ball rolling. Sometimes when things get bad, the hardest part is just simply making a plan and starting the project. This is what Professional Organizers are skilled at doing. They can see right through your clutter; they have a vision for what your space can be and map out the plan for you to achieve it.
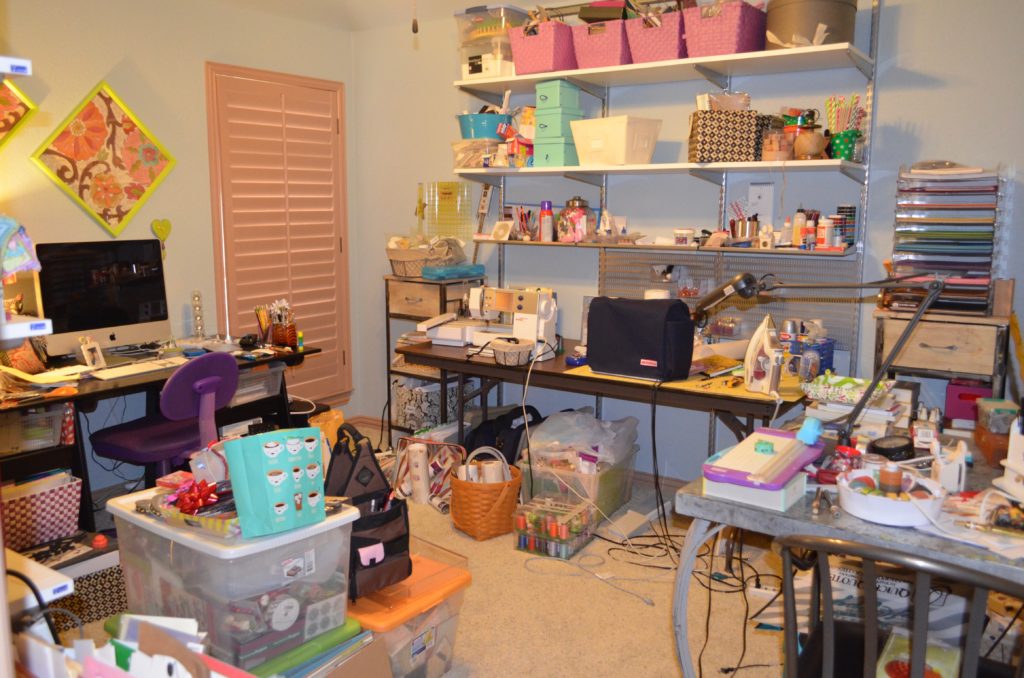
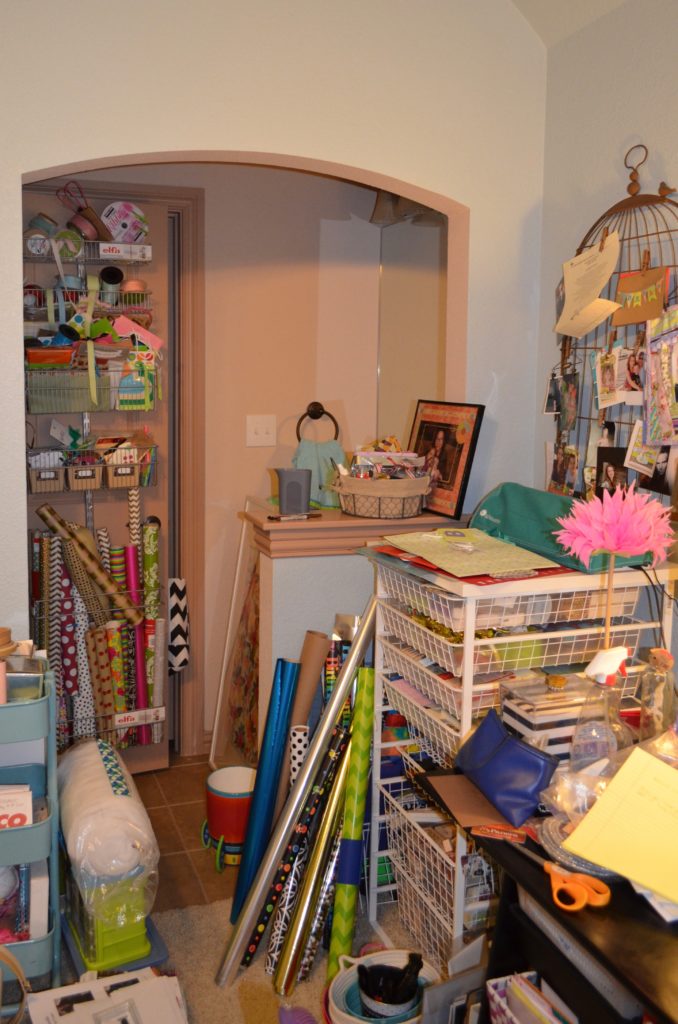
It is always good to take some before pictures of the space you are about to transform. Seeing the clutter in pictures can be even more motivating!
Here are my before pictures. The first is the view from the doorway to give you a feel for how it looked when you enter the room.
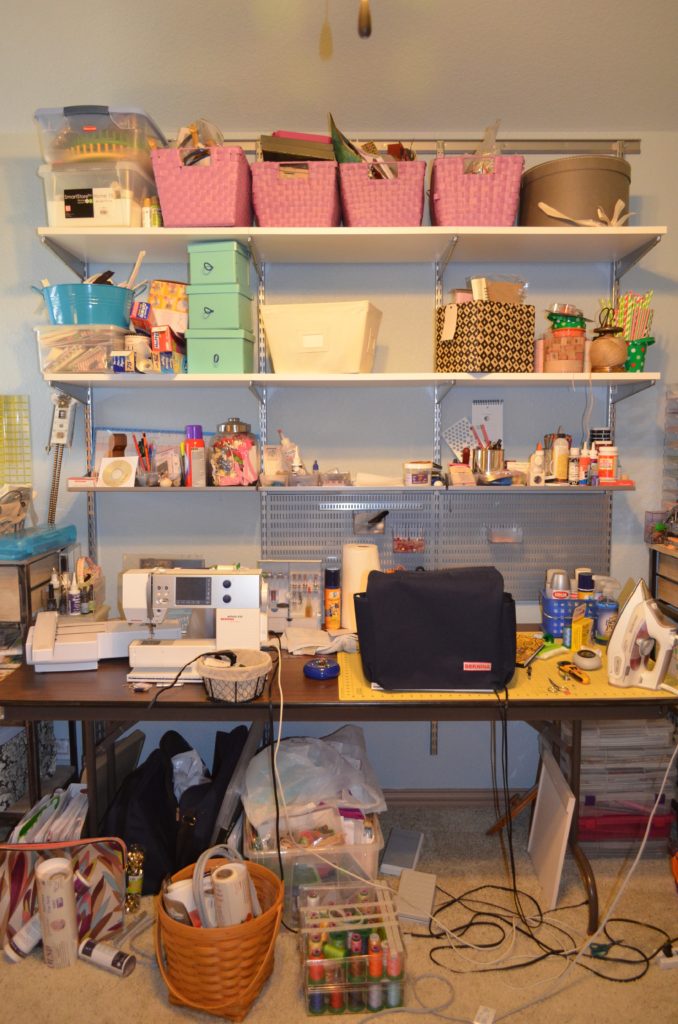
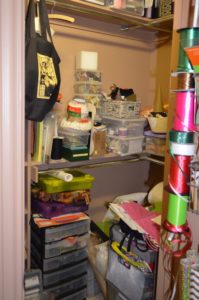
Here are a few smaller shots of the different areas in the room and the closet.
Once I revealed the room to Leticia in all it’s disorganized glory it didn’t take me long to get over the initial embarrassment. She immediately put me at ease and mapped out a new room layout. She also gave me homework to do….my job was to empty all of the contents of the room and the closet and sort every single item into categories. Here are my major crafting categories:
- Paper Arts / Rubber Stamping / Scrapbooking
- Sewing
- Knitting
- General crafting
- Seasonal crafting
- Stationery / Gift Wrap / Office Supplies
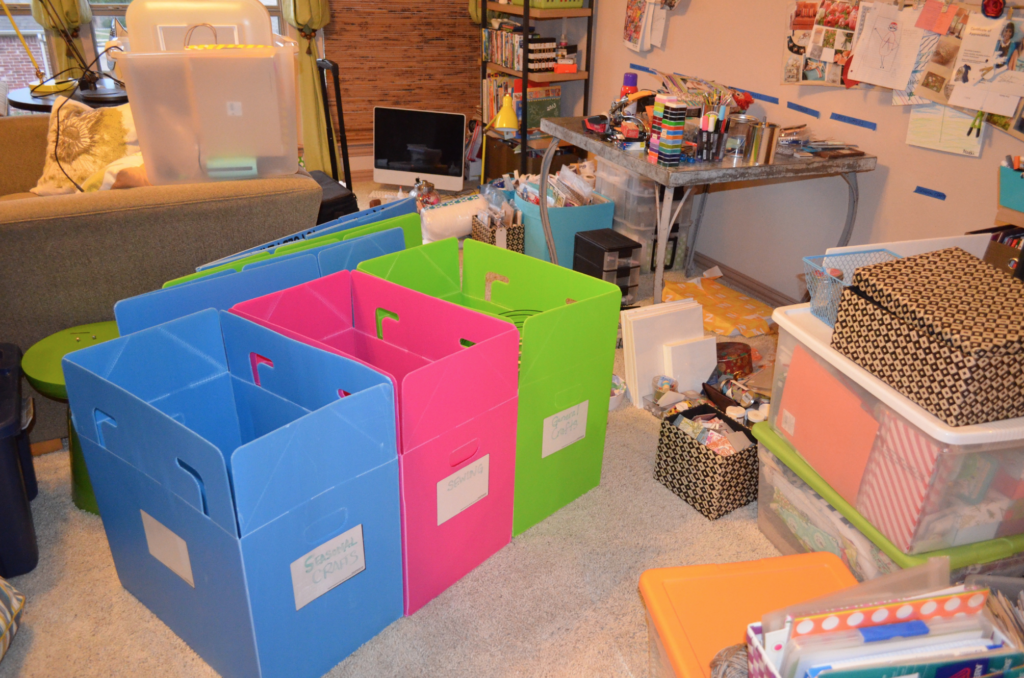
To start unloading the contents of my room, I had to dedicate a separate nearby space to put everything for the sorting process. I decided to use our game room. Leticia loaned me some tools for the sorting process. A set of her bright color-coded boxes helped me get the sorting started. It was actually fun to group like things together and allowed me to take inventory in the process.
Here is a picture of my sorting area and the bright boxes that made sorting a lot easier.
After all of the things were divided into the sorting boxes, I was able to better visualize how big the storage containers and storage spaces needed to be for each one. This is when I realized that I needed to edit each category down to comfortably fit everything back into the space. I realized that if I wasn’t going to use supplies that I already owned for 10 plus years, that I probably shouldn’t continue to store them in my creative space. They needed to find a new home! Before I knew it I had two large bins full of items to be donated.
One thing that I learned about this process is that you can’t undo what has happened over years and years in just one day. You need to set a reasonable goal because it does take time to go through all of the inventory…but you don’t want your project to drag on either. I felt that one week of about 4 hours a day is what it would take. I was not far off….it actually took more like a week and a half of four hour days to get the room put back together. In terms of total hours, I calculated this project took about 32 hours. Now, I do have a few items left that I still need to go through and I left them in two of the sorting boxes. Some of these items need to be stored with my seasonal/holiday items because they are crafting supplies related to those specific events that I might otherwise forget about.
Additional articles will be published on the blog this month that will dive into the details of organizing this multi-functional, crafty space. We hope you will want to follow along and read those as well!
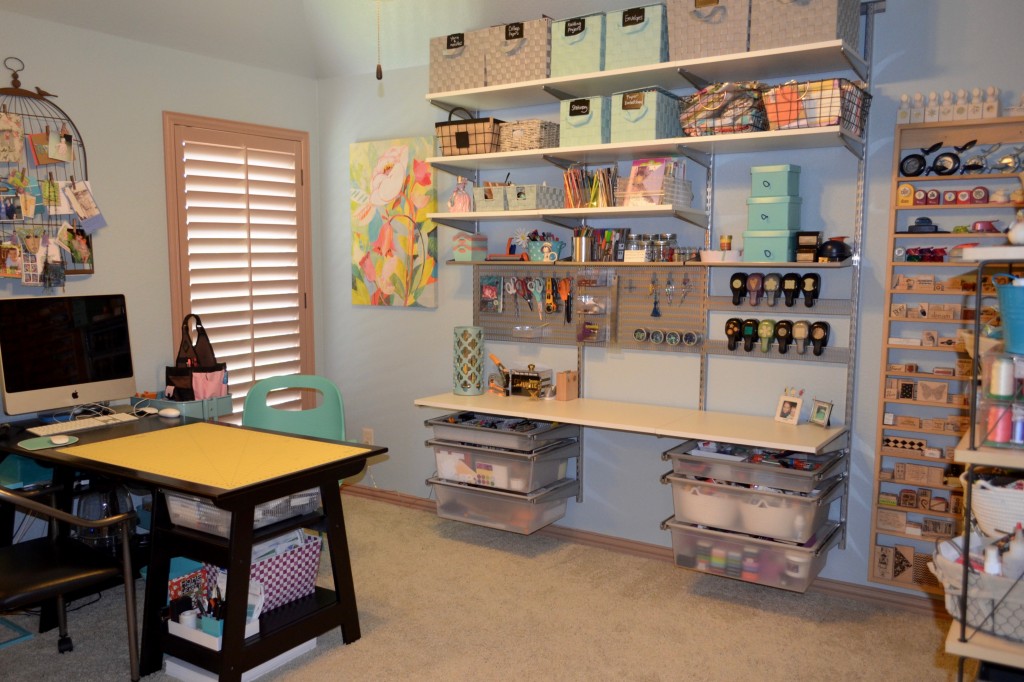
Until then, I will leave you with the before and after pictures of the room as viewed from the doorway. It is absolutely a brand new space that allows me to BREATHE! I already feel my creative juices flowing. I’ve learned that sometimes the hardest part of “starting over” is just getting started. A Professional Organizer can help you get the process started in the most efficient way possible, and map out the plan to take you all the way to the finish. Thanks for reading about my craft room intervention…and I hope you will return to our blog throughout the month of June to get more details on this project.
Before:
After:

